The Induction;
There are more materials that you can use than there is materials that you can't use, therefore we were told about the materials what we can't use, and showed examples of materials that can be used, and the types of things that could be done with them.
- We were told that metal is something that can't be used, this is because metal just reflects the laser and will do nothing.
- The machine is unable to cut mirrors or other reflective surfaces unless your using an acrylic mirror which gives an allusion of a mirror but its actually acrylic.
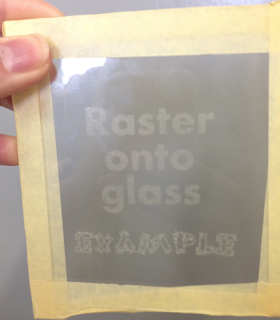
- It can laser into glass but cannot cut through it, so consider the options and designs when laser cutting onto glass.
- Never use brown lino when laser cutting as it lets off dangerous fumes if your around them for too long. Although you can use grey lino, that doesn't let off the same fumes.
- Be careful when using acrylic as it lets off strong fumes when laser cut, can pause the machine and leave the room for a bit and come back.
Materials;
 |
| Acrylic |
 |
| MDF |
 |
| Lino |
 |
| Glass |
 |
| Cardboard |
 |
| Paper |
 |
| Plastic (mirror replacement) |
 |
| Wood |
 |
| Image based |
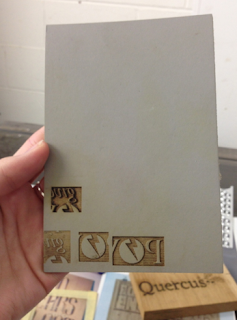
Different Effects;
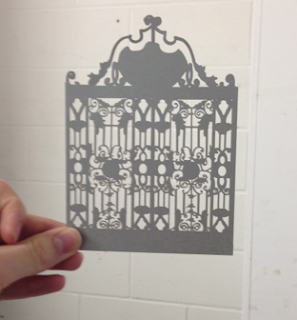
The different effects that can be used when laser cutting are shown in the image below.
- Cut Through
- Engrave
- Kiss Cut
- Raster
All of these settings are available when laser cutting, depending on the material used, for example you can't use cut through on glass as it will just shatter. On the program each of the four different settings are displayed as different colours to make things easier to see. When rastering the material you have to select what you want rastering, then go to object properties, tick the top button on engraving properties, click apply then ok. Also another thing to remember is make sure the material is set to the correct thing before you cut.
Before setting up the computer, make sure you set up the laser cut machine, making sure that there is a 12mm gap inbetween the material and the laser using the wooden block to measure it. Then set the laser up by measuring the bottom left corner to the top right, then you are ready to cut and set up the computer to cut.
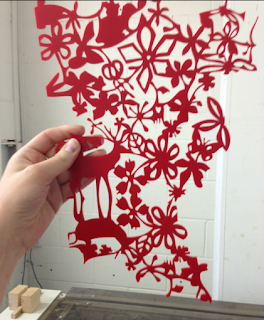
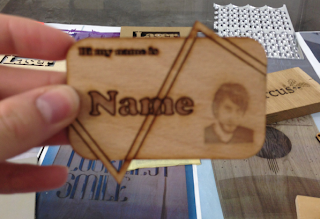
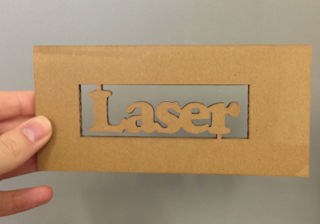
The laser cut, then the solution/design. There are many different effects that can be done on this, and many different ways you can use the designs, therefor I will definitely be using the laser cut machine during my second year. We all got a chance to make our own little test later cut, but ours were wood, as it is better for everyone in the room, or there would be lots of fumes.
This workshop was very useful, it showed me what the laser cut is capable of, also we were shown how to use the machine itself, therefore I will be able to use it, also we got a booklet full of instructions for the machine, so I will take it with me when I next use it, just in case I get stuck.


No comments:
Post a Comment